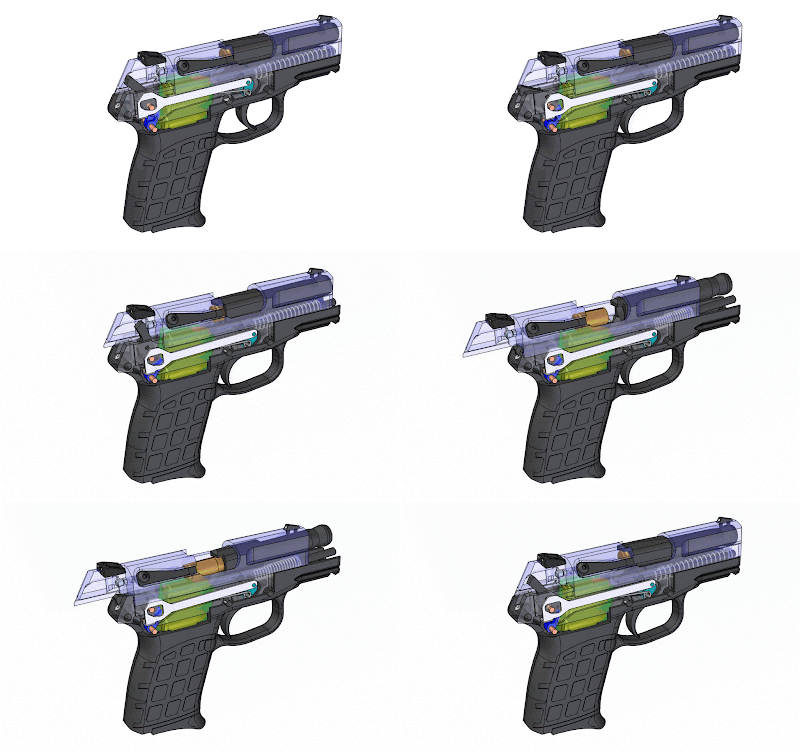
Share your pointers for those that are new to a Kel-Tec P-3AT or have never done a disassembly. Although very easy to do, the simple process can be hard the first time if certain processes are not followed.
My pointers.
1. When doing a disassembly, only remove the 2 top frame pins (202), not the hammer block axis (270) located in the grip area of the grip. If you remove the latter, the hammer block (272) and spring (273) will fall out and they are a booger to get back in place.
2. When doing a reassembly, when you begin putting the frame (210) back into the grip, before you seat the back end (hammer end), leave enough of a space that you can slide a very thin object (I use the wooden end of a Q-tip) to push the hammer block (272) in front of the hammer (271), when you do this the frame (210) will seat correctly. If this is not done correctly, you will not be able to put the slide (152) back in place and the trigger (252) will be locked.
3. When you remove the frame (210), you will most likely cause the trigger bar (260) to pop off. No big deal, just beware of this, to get it back in place, you have to wind the trigger spring (256) back over the top of the bar and let it rest just under the bottom of the bar. That holds it in place.
4. Just doing a simple field strip can cause an issue if you do not pay attention to the ejector (115). I usually just go ahead and remove it before handling the grip, as it will often fall out in your lap or floor and it can be hard to find at that point.
5. If you remove the firing pin (170), notice that when you are putting it back into place, there is a slot on it that must be positioned to allow the extractor botton head (183) to screw back in.


